

8 Tips to Beat the Grinder Setup Grind
Changeovers can be smooth, problem-free, and quick
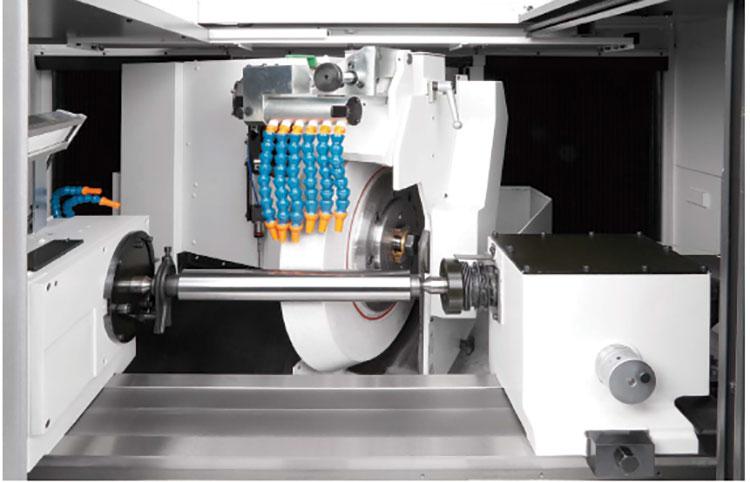
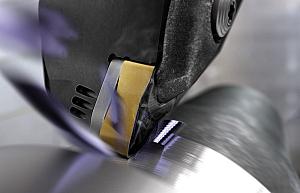
Keep it clean. Remove dirt and debris to make changeovers easy, quick, and problem-free. Photo courtesy of Okuma America Corp.
Interrupting the circular motion of a grinding wheel for a new setup interrupts the flow of production and profits. But flexibility is the name of the game in many shops, and in low- volume, high-mix environments, controlling the number of changeovers can be difficult.
If you can’t eliminate multiple setups, shaving a few minutes off each changeover to limit production interruptions is the next best thing. Every minute saved adds more to the bottom line.
Operator vigilance and some setup routine tweaks can help shorten the operator time and involvement, but good maintenance practices also go a long way toward making changeovers smooth, problem-free, and quick. Automation available as new equipment options or retrofits from most OEMs can scale down non-productive setup time and in many cases provide a rapid ROI.
Tom Vieira, cylindrical division applications manager at United Grinding North America Inc., and Rob Titus, applications engineer at Okuma, offered tips on how to get back to making parts in the shortest amount of time.
1. BATCH LIKE WORK
Vieira: Consider grouping work by both materials and processes so you don’t have to swap out as often. If you have an order for 15 parts on Monday and another for 10 of the same part on Thursday, run them at the same time if it can make sense in your shop. When setup time is factored in, there are times when JIT delivery costs a company rather than saving money.
2. RESPECT THE EQUIPMENT
Titus: Preventive maintenance is often overlooked. For example, the grinding wheel spindle needs oil to keep it lubricated. If that oil and filter aren’t changed on a regular basis, the life of the spindle is reduced and it will require more frequent replacement, which takes time.
Cleanliness, even on changeovers, is important. When you replace a tailstock centre, be sure the new one is clean. Debris will keep the tailstock from seating properly, and there will be movement that causes vibrations, chatter, and inconsistent part sizes.
Vieira: Dirt under the machine components will wear out the mounting surfaces and affect quality. For instance, wear on the front rail of the table will cause taper issues on the part.
Some operators tend to see a grinder as just a machine and don’t recognize the value of the equipment itself or the value it brings to the company. I relate it to a car. If you’d spent $500,000 on a high-performance vehicle, chances are you wouldn’t throw wrenches on top of it or let it get and stay dirty.
Take 10 minutes at the end of the day to wash down the grinder. Remove the swarf and grease. Wash the handprints off of it so it looks like a new machine. Nobody wants to start their workday working on a dirty machine.
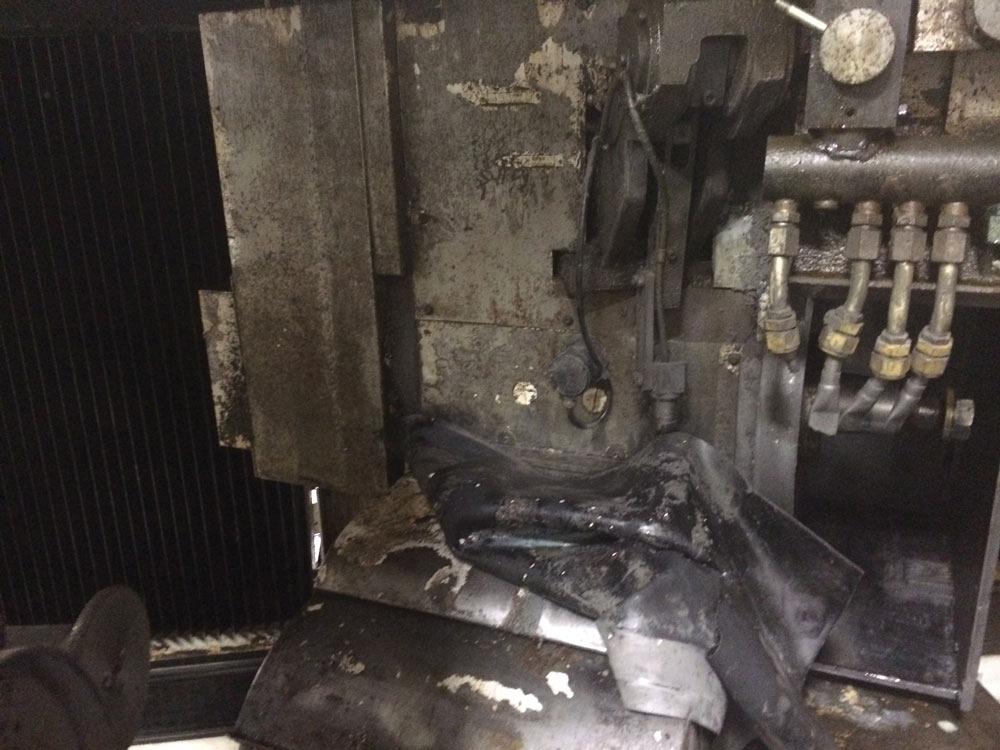
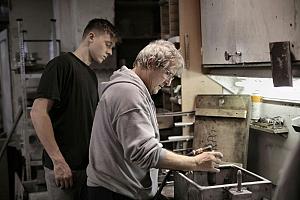
Neglected grinding wheel spindles and X-axis way covers contribute to setup difficulties and quality issues. Photo courtesy of Okuma America Corp.
3. KEEP THE COOLANT CLEAN
Titus: Coolant cleanliness is a big factor. If you don’t have a coolant filtration system that removes the swarf, the dirty coolant gets in the interface where the grinding wheel and the part meet, and the very small chips, or metal swarf, create little scratches in the part’s finish. Also, dirty coolant could reduce the grinding wheel life because of having to dress it more frequently.
If a machine doesn’t have a proper coolant flush, it puts more emphasis on the operators taking care of the machine to make sure there is no swarf buildup. If there is enough swarf buildup, it can block the coolant flow.Vieira: If you don’t maintain your coolant and allow grit to mix in, it will run through the whole machine. The dirty coolant will cause valves to stick, and the grinding wheel grains will scratch the part.
4. CHECK TAILSTOCK SEATING
Titus: When changing out tailstock or headstock centres, make sure the tailstock or headstock is free of debris, as well as the actual dead centres. If the centres don’t seat in the taper because of contamination, the part can move while grinding, which can result in size, roundness, runout, and taper problems.
Keep an inventory of different tailstock centre lengths to work with from one setup to another to reduce setup time. The operator can just change out the tailstock centre rather than move the whole tailstock on the table.
A programmable tailstock will reduce setup time quite a bit. The quill moves to the correct position, and the operator doesn’t have to move the whole tailstock base.
5. PAIR WHEELS AND HUBS
Vieira: Have extra mounting hubs so a mounted wheel stays paired with its hub and can go right back on the machine when it’s needed again.
Some machines have software that can tell if a wheel used on a previous job is back on the machine. Then the machine knows where the wheel is and how to dress it. It eliminates setting up from scratch.
Automatic or semi-automatic balancing helps the surface finish and definitely speeds things up by eliminating the need for manual or static balancing wheels.
6. REDUCE DRESSING CHANGES
Titus: A lot of operators dress their wheel using a stationary single-point diamond that tends to wear out quickly. Once it wears out, it needs to be replaced, and the machine has to be retaught everything that relates to the diamond because it is working with a different tool.
A rotary dresser diamond won’t wear out as rapidly and will reduce the number of diamond changes. It will also give a consistent dressing of the wheel so it cuts the same part after part. It gives setup time savings and repeatability.
Vieira: Basically, depending on what you need to move for the work you are doing--machine component wise--dressing tools can be mounted to the machine’s workhead, tailstock, or table. If only the tailstock has to move, the diamond or rotary diamond dressing tools could be mounted off the workhead, which is in a fixed position, and one the machine doesn’t have to relearn in regards to the dressing tool.
7. CONSIDER DEDICATED GRINDERS
Vieira: One company had several similar parts that required ID and OD grinding, but the parts were different sizes. The operators would do the ID on one part, switch to do the OD, then the ID on the next part, then the OD … they were switching setups all day long. To reduce setup time, they dedicated one machine to ID work and a second machine to OD.
8. Plan Ahead and Organize
Titus: Be meticulous in your setup. Be sure operators are educated on the proper steps involved. Develop a step-by-step procedure to be followed, because if one step in a 15-minute setup is skipped, 45 minutes will be lost struggling to make a good part. Every piece of equipment is different, so rely on the OEM to help develop the setup routines.
Vieira: Some machines can be programmed to turn on in the morning before the operators have arrived. A preset warm-up cycle could be set to run, for instance, a half hour before production starts, eliminating the time wasted waiting for the machine to reach the optimal operating temperature.
Use the 5S approach—sort, set in order, shine, standardize, and sustain—to organize changeover tools to save time and steps. Say four different wrenches are needed to change a wheel. A lot of time will be saved if they are all there and ready for use.
Okuma America Corp., 704-588-7000, www.okuma.com
United Grinding North America Inc., 937-859-1975, www.grinding.com
About the Publication

subscribe now

Keep up to date with the latest news, events, and technology for all things metal from our pair of monthly magazines written specifically for Canadian manufacturers!
Start Your Free Subscription- Stay connected from anywhere

Easily access valuable industry resources now with full access to the digital edition of Canadian Metalworking.
Easily access valuable industry resources now with full access to the digital edition of Canadian Fabricating & Welding.