

Ease the pain of prepping for paint
A clean surface, a scratch pattern, and application knowledge
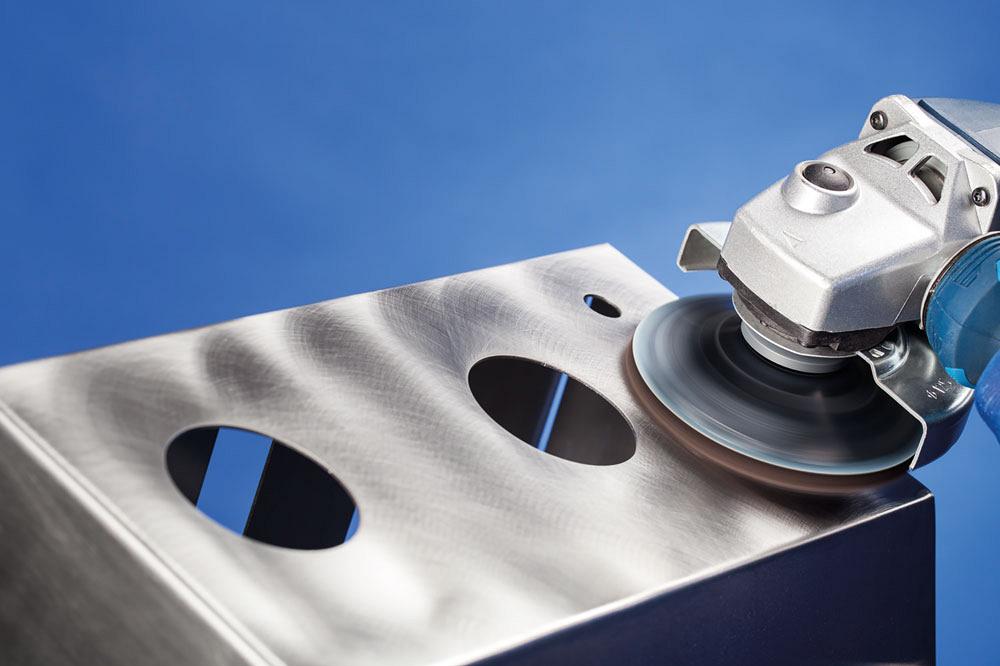
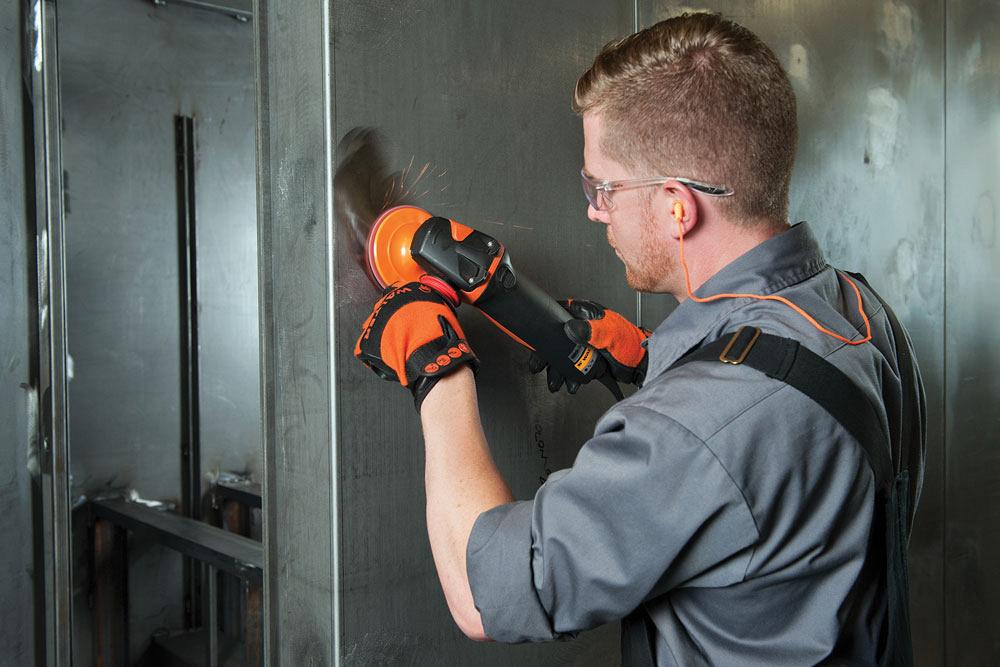
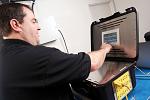
Before its painted, a metal surface must be clean and have a surface rough enough to allow the paint to adhere. Photo courtesy of PFERD.
Preparing a metal fabricated surface to accept paint can be labour-intensive, time-consuming, and difficult. Unfortunately, that preparation is fundamental to achieving a painted finish that meets specifications, looks good … and lasts.
“Typically, job shops try to create a finish that will accept paint and be acceptable to a customer, so a number of parameters, dependent on the application, are involved,” said Roberto Mercuri, account executive, industrial abrasives division, for 3M. “Usually shops will start by removing weld spatter and oxidation, then create a microscratch finish so paint can adhere properly. Material defects and scratches shouldn’t show when you look at the painted surface.”
Clean before grinding, grind, and clean again sounds like a plan without much room for variation. However, there are several stages of the process where a few adjustments or extra attention to details can save time, materials, or labour.
Clean Before and After
Begin by cleaning the workpiece. Clear off dust and dirt and follow recommendations provided by the primer or paint manufacturer regarding what kind of solvent should be used to strip off oils, grease, and rust. After grinding, clean off any chips or resulting dust.
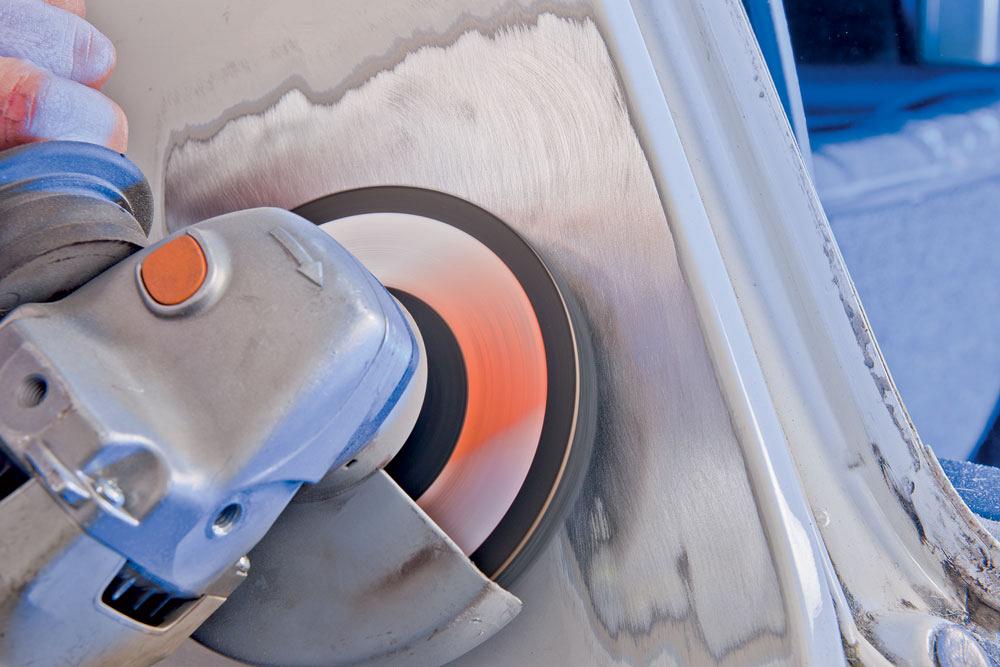
“It is important to clean the surface before and after using an abrasive,” said Cédrik Rochon, associate product manager, R&D, at Walter Surface Technologies. “If you start working on the surface without cleaning, contaminants such as dirt and grease can be spread around. The contaminants will get embedded in the abrasive used to create a paintable surface and the abrasive can reduce its life significantly. A layer of dust and dirt between the workpiece and abrasive can also make unwanted deeper scratches on the surface.”
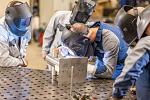
Rick Hatelt, Ontario territory manager for PFERD, said to use caution when brushing debris from the workpiece surface. “Depending on the material you are working on, you might use a wire brush for cleaning. If the workpiece is stainless steel, be sure to use a stainless steel brush so you don’t end up with cross-contamination, which can cause another headache.”
Roughing It
Getting to that properly prepared surface involves removing excess material and creating an even scratch pattern that will hold the layer of paint, at times with a specific thickness.
“Think of it as a smooth surface with equally sized peaks and valleys. A consistent pattern with the smallest distance between peaks and valleys allows the paint to adhere. Paint won’t stick to an almost polished surface without those peaks and valleys,” said Mercuri.
“The valleys will fill with paint, so you don’t want them to be deeper than necessary because that adds to the paint cost and painting time. But if the peaks and valleys are too small, the paint can flake off.”
Mercuri continued, “And if the surface hasn’t been prepared properly, any material defects will show through the paint.”
Multiple steps usually are involved in the surface preparation. The first step often is using a coarse-grit abrasive, between 36 and 80 grit, to level welds, remove weld spatter, and begin smoothing deep scratches. The 36-grit abrasive would be chosen if, for example, there is a very high weld or weld spatter and the operator wants to remove material quickly. A 60- or 80-grit abrasive, somewhat less aggressive, will work if the weld height and spatter are not as significant.

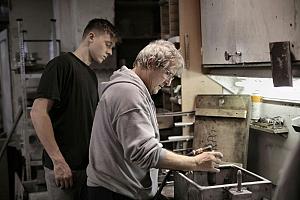
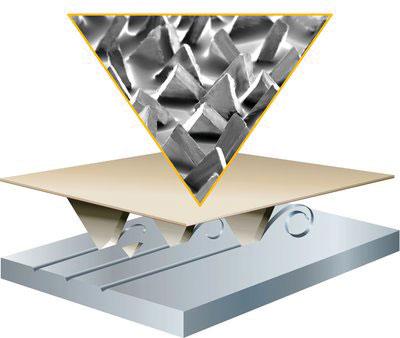
The metal surface should be cleaned before and after using abrasives to avoid spreading contaminants and dirt. Photo courtesy of Walter Surface Technologies.
Rochon said, “Sometimes manufacturers want to start with a very aggressive grit, for example, to remove a weld. But there are times when this can work against them. For example, if they are working toward a smooth finish, to reduce the amount of paint to be used, a coarse grit first can create deep scratches that will take a longer amount of time or more steps to finish out. Working with a less aggressive grit as a first step may take a little more time to remove the weld or spatter at the beginning, but it can reduce the number of additional steps to get to the finish.”
There is a science to determining the number of steps needed, said Hatelt. “Quite often we see manufacturers doing too many steps. You want to use three steps with increasingly finer abrasive grains, there is no need to use more.
“Let’s say a 120 microfinish surface is the goal. Go from a 50 grit to an 80 and to a 120. The operator needs to understand that the purpose is minimizing the depth of scratch, so quite often a step can be skipped based on depth of the beginning scratch pattern," continued Hatelt.
Oribital sanding disc can be used as a second or third step to create a different, circular type of pattern, said Mercuri. “Then some customers will want to camouflage or break down the circular pattern so they use a random orbital grinder. It will break down the peaks in the finish and leave a consistent, hazy finish.”
The type of grain to be used depends on the material. Hatelt said, “Different grain types exist because of different materials. If you want a general grain, aluminum oxide is the one-size-fits-all that works on almost everything. It may not be best for a particular material, but it is a good all-purpose grain for most surfaces.”
Speed Limits
Abrasives have different optimal revolutions per minute. Variable-speed grinders allow adjustments to get the best performance from the abrasive. As a rule of thumb, Hatelt said, the finer the finish, the lower the recommended RPM. But, he added, it’s a common mistake to run the tools too fast in an effort to speed up material removal. Although it seems logical, if the tool runs too fast, it can add steps, add time, and use more abrasives.
“The tools work well when run at the recommended speeds,” said Hatelt. “The downsides to running too fast are overheating, premature abrasive wear, more time to complete the job, and poor surface quality. The abrasive won’t have the chance to do its job and will rub instead of cut, creating heat. Heat in abrasives is an enemy.”
Mercuri said that taking the time to ask questions and plan the process before beginning surface preparation is an investment that will pay off in saved time and lower finishing costs. On the front end, be knowledgeable about the cleaning solvents appropriate for the primer or paint that will be used, and work with the abrasives supplier to choose the right abrasive type and grit size and the number of steps needed. On the back end, know what kind of finish is needed to meet paint specifications most economically.
Rochon provided a recommendation for using any unfamiliar finishing product, new grit, or different abrasive brand: “Don’t use it for the first time on a part that already has added value. The new product might be too aggressive and turn the part into scrap. Try it on an area that is not aesthetically critical or on a piece of scrap material. Begin with a lower, less aggressive grit first and move to a coarser product if needed so you don’t harm the workpiece or create more finishing steps.”
Associate Editor Sue Roberts can be reached at sroberts@canadianfabweld.com.
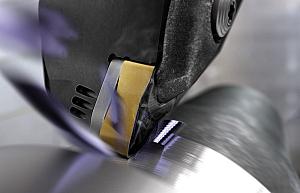
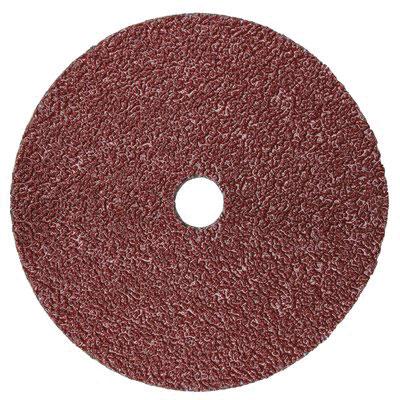
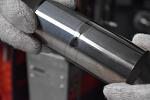
A depressed-center unitized disc creates a scratch pattern that will accept paint. Photo courtesy of PFERD.
3M Canada, www.3mcanada.ca
PFERD Canada Inc., www.pferd.com
Walter Surface Technologies, www.walter.com

subscribe now
Keep up to date with the latest news, events, and technology for all things metal from our pair of monthly magazines written specifically for Canadian manufacturers!
Start Your Free Subscription- Stay connected from anywhere

Easily access valuable industry resources now with full access to the digital edition of Canadian Metalworking.
Easily access valuable industry resources now with full access to the digital edition of Canadian Fabricating & Welding.
- Trending Articles
1
Class is in session for college connections
2
BlueForge Alliance partners with Nuts, Bolts & Thingamajigs to develop Submarine Manufacturing Camps

3
Portable system becomes hot tech in heat treatment
4
Orbital tube welding webinar to be held April 23
5
Cidan Machinery Metal Expo 2024 to be held in Georgia May 1-2