

Editor
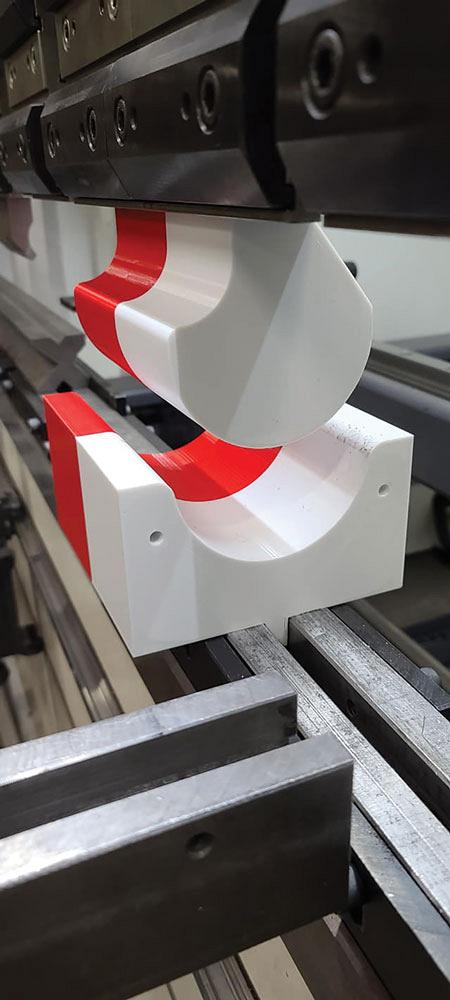
Sehmbi purchased his first 3D printer back in 2016. “At first, people thought it was a joke, just to make toys and stuff like that. But once people saw me making press brake dies with it, they started to take notice.”
Mill Finish Industries owner JR Sehmbi is an enthusiastic tinkerer of fabricating-related toys. He learned his laser cutting skills on the job, and any new tool that comes across his path is ripe for exploration. This is perhaps why 3D printing drew his attention and was adopted as an everyday tool in his company’s Orangeville, Ont., shop.
Sehmbi purchased his first 3D printer back in 2016.
“It’s a cool technology to have,” he said. “At first, people thought it was a joke, just to make toys and stuff like that. But once people saw me making press brake dies with it, they started to take notice.”
Sehmbi originally just looked for the cheapest printer with the biggest printing envelope. But once he got to know the technology better, his approach changed.
“I started to look into more features that would benefit uninterrupted printing,” he said. “The main features are having an automatic filament runout sensor, auto bed levelling, a heated bed, and definitely a dual-filament printer, which helps when you need to add supports and can use dissolving material for those supports.”
Sehmbi credits 3D printing for attracting certain jobs because of the technology’s ability to turn prototypes around so quickly.
“Some of my legacy customers are coming to me saying that they are not sourcing parts from overseas anymore,” he said. “What this means is that we’re getting shots at larger contracts, and bids are going well on those. One of those bids was for a company that makes air movement products. They build fan enclosures, fan housings. For the past 20 years, they have been getting their fan blades made in Germany. Now, with shipping rates being what they are, they started putting out feelers to source these locally. We were able to prototype and implement all of our tooling within about 10 days. We had a working prototype within three weeks.”
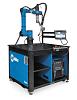
Sehmbi used a relatively simple Creality 3D printer with a 300- by 300-cm bed using standard PLA material.
“The challenge with these blades is that they have eight fins on them, and four of those fins have a different contour than the others. We created a stamping form to create the shapes on one of our press brakes. The customer needed a work sample within 12 weeks to send overseas for approval. The method and the speed with which we did it was the first time this customer had seen that done.”
Mill Finish 3D-printed the positioning jig for the forming process. The front and back covers were being outsourced to a spinning company, so to make sure those met Mill Finish’s quality control requirements, Sehmbi printed a form that allowed the company to confirm that everything fit as it should.
The key for Sehmbi is getting his team to think of the 3D printer as a tool they can go to as needed.
Sehmbi does a great deal with the 3D printers and is experimenting with the various materials that can be used as printing stock.
“We use standard PLA plastic a great deal, as well as ABS plastic,” he said. PLA is the least expensive stock in the market, whereas ABS is known to have a balance of impact, heat, chemical, and abrasion resistance.
“We’ve started to experiment with PETG plastic, which is stronger and more resistant than PLA, but requires more heat input in processing. We’re also looking at flexible plastics, which could be useful in a welding jig or fixture, where a little give can be helpful.
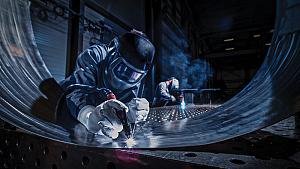
“All of our welding jigs and fixtures are 3D-printed now,” he continued. “And we’ll cast negatives to check our forming. It takes us 24 hours to set up a print and get it printed. At this point, I’ve set up a 3D printer right in my manager’s office so that we’ll send a file out, start printing it, and then when the guys come in next morning, the jig is ready to go to start using.”
The key for Sehmbi is getting his team to think of the 3D printer as a tool they can go to as needed.
“I encourage them not to think of it as just some cool gadget,” he said. “It’s there to help you get the job done, just like the press brake, the laser, or your welding power source. It’s just another tool to make your life easier. It didn’t take much to get that buy-in, either. Once you show them the benefits and liquid ability of design, they were pretty much sold on the use. What I mean by ‘liquid’ is that there are no constraints on your design ability. Between 3D printing, laser cutting, and forming, making jigs and fixtures combining those machines makes for some amazing products and reliability on the manufacturing end.”
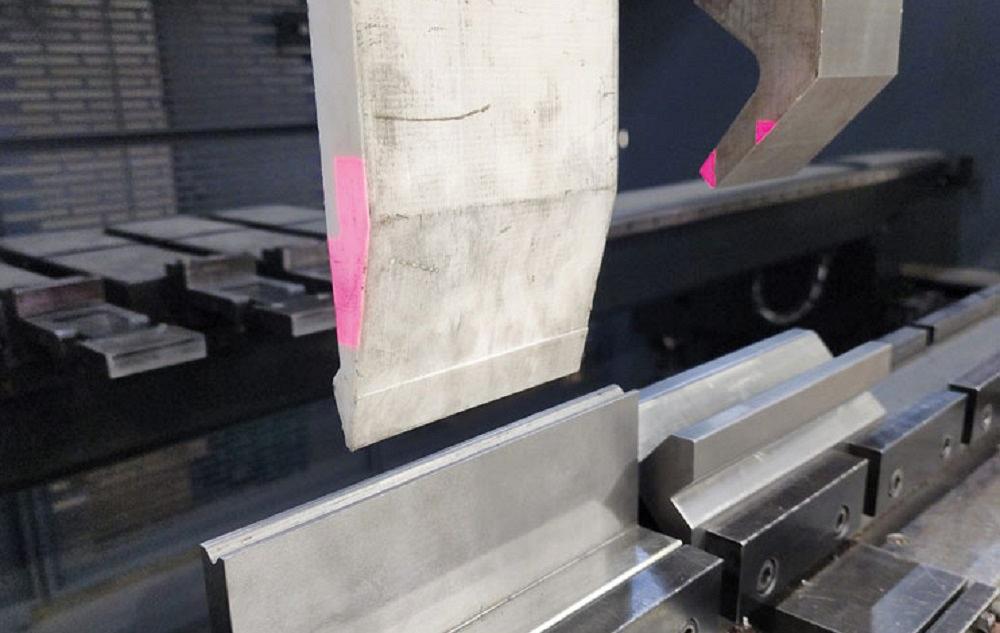
According to Sehmbi, about 50 per cent of his prototype dies are 3D printed.
“If we’re working with 11-ga. mild steel or thinner, I’m very comfortable just printing the die with a thicker infill—between 60 and 100 per cent density in the plastic for the heavier materials in this range. I can design and create customized tooling in SolidWorks, 3D-print it, and confirm the tool works the way that I want it to.”
As Sehmbi notes, the interior of a 3D-printed part can be anywhere between 5 per cent to 100 per cent filled in. You can also choose your fill pattern—a hex pattern, a cube, zigzag—which will also affect the strength of the tool.
“I’ve learned through a lot of trial and error,” he said. “It affects the speed of your printing process on one end, and how much load you can put on a certain surface at the other. A hex, for instance, offers a little more strength compared to a zigzag. I used Google and YouTube a lot to learn about the topic.”
Sehmbi indicated that, although its effective, 3D printing isn’t as easy as buying a machine and just running it. He and his team have put a great deal of time learning the best way to handle each process they do. But there’s no question that the time invested has been useful.
“It even helps our press brake tool supplier,” Sehmbi points out. “Instead of just sending them a file explaining what we want, we’ll send our prototype for their reference. It helps us both ensure the right tool gets delivered.”
The big question is, does this suggest that Mill Finish will one day move into metal additive work? Sehmbi is certainly keen to do so, but it’s a matter of finding the right use for it, and that hasn’t happened yet.
“Unfortunately, the cost is a huge factor versus how much we would utilize the metal printer, but that is something we would be willing to offer our customers in the future,” he said.
Editor Robert Colman can be reached at rcolman@fmamfg.org.
Mill Finish Industries, www.millfinish.ca


Keep up to date with the latest news, events, and technology for all things metal from our pair of monthly magazines written specifically for Canadian manufacturers!
Start Your Free Subscription
Easily access valuable industry resources now with full access to the digital edition of Canadian Metalworking.

Easily access valuable industry resources now with full access to the digital edition of Canadian Fabricating & Welding.