


Associate Editor
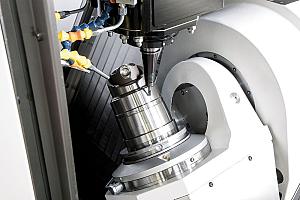
Punch press tooling is a significant investment for any fabricator. Keeping it in tip-top shape will vastly extend its overall life. A shop that properly maintains its tooling will get more hits out of it; generally spend less money on it; and will produce better-quality holes, resulting in a high-quality part delivered to customers. Keeping well-maintained tools can also help reduce long-term costs of machine maintenance and repair.
Over time, though, these tools eventually begin to wear, and many challenges can arise from working with dull or damaged punching tools. Yet, there are steps that every shop can take to get the most out of its investment. Developing a proper punching tool maintenance program is a great place to start to help increase tool life and produce quality parts.
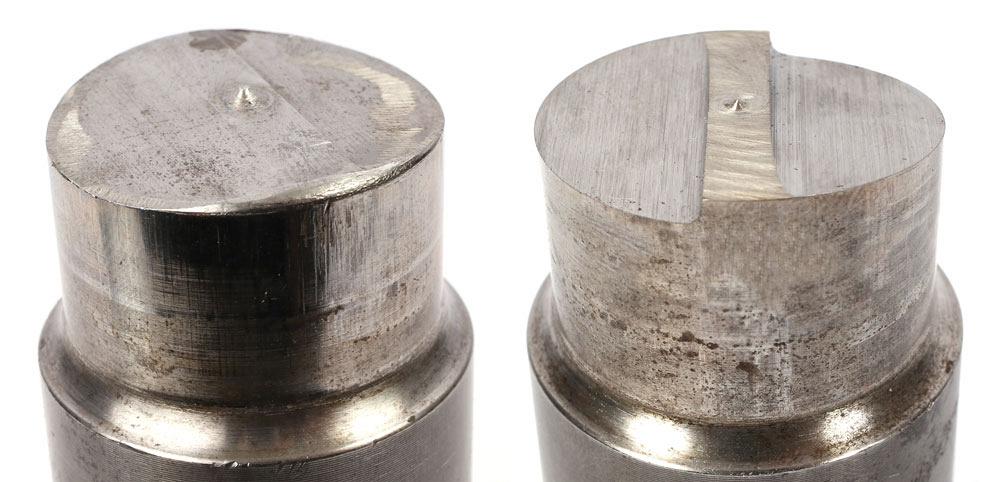
There are several rules of thumb for identifying a dull tool. One of the first things operators should monitor is the cutting edge. If it looks dull, chances are that it is dull. This is a very intuitive way to identify wear.
"A cutting edge that’s worn will have a 0.004-inch or larger radius on it, and it should be sharpened," said Susan Erler, product manager—punching, Wilson Tool International, White Bear Lake, Minn. "You can also run your finger over the edge; if it doesn’t feel sharp, that’s a good indicator it’s dull as well."
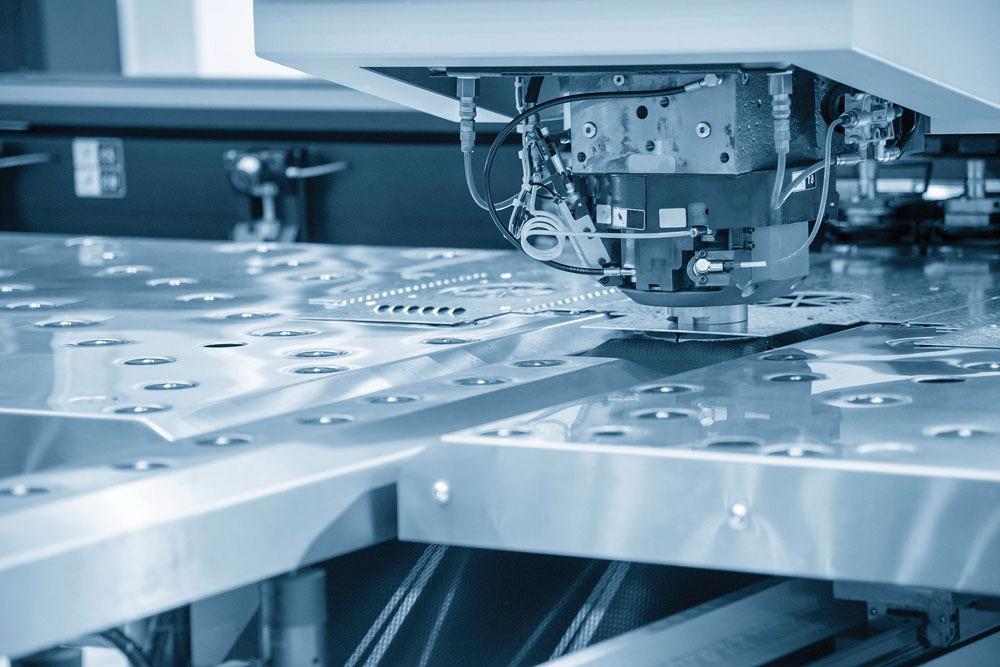
The second way that operators can identify tool wear is by examining the hole. Poor edge quality of punched parts, slugs pulling or sticking to sheet, or increased rollover on the top edge of punched holes are all indications of a dull punch.
Last, and one of the most obvious telltale signs, is sound. Listening to the punching noise will give a good indication if the tool is dull, as a dull tool tends to make more noise than a sharp one. If an operator notices a change in the sound, he can examine both the cutting edge and hole features to determine if it’s time for sharpening.
"It is definitely up to each particular shop to create a punching tool maintenance program and to keep up with the program," said John Ripka, application technician, Mate Precision Tooling, Anoka, Minn. "Once a shop gets accustomed to general tool maintenance, it becomes obvious why it would want to continue. The bottom line is dollars, and if you make your tools last longer and put off future purchases because of a proper maintenance program, then it makes sense."
Fabricators need to ask several questions before implementing such a program:
There are other things to consider, but these four questions will give shops a clear indication of what type of program is required and how to go about getting it set up.
"One of the first steps is to identify who will be responsible for sharpening the tools and maintaining the program," said Erler. She explained that in a big company with lots of turrets, there is often a tool crib with a dedicated person to make sure that the tools are sharp and ready for the next job. In a smaller shop with only a few turrets, this isn’t often the case, so it typically falls on the operator. This is easy for a shop running one shift, but if multiple shifts are run, a shop may be required to have one or multiple people from each shift trained to sharpen.
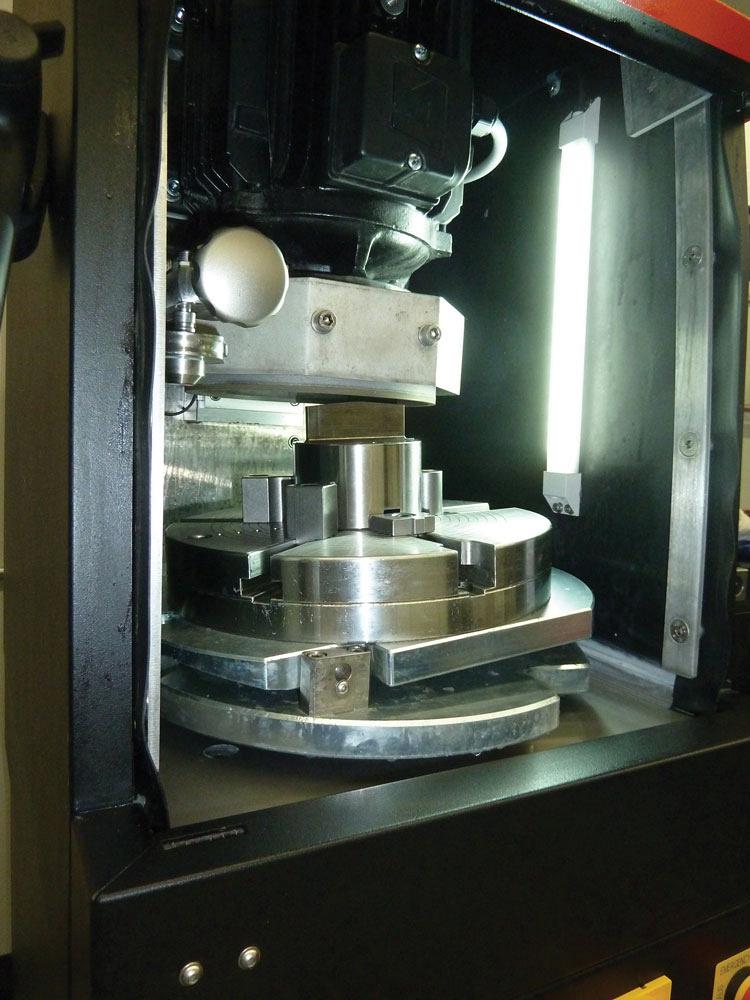
This Premia grinder allows the operator to put the tool in, push a couple of buttons, hit start, and it will perform maintenance operations. Photo courtesy of Mate.
Determining the type of grinder that will be used for the program is equally as important. Many options are available on the market, so fabricators should explore what grinding methods they can afford to invest in and how they will integrate on the shop floor.
"I think for the most part, if you have the capital to invest in a good grinder to sharpen punches and dies in-house, this is the best option," said Ripka. "Some advanced options allow the operator to essentially put the tool in the grinder, push a couple of buttons, hit start, and it will perform maintenance operations."
Ripka also noted that incorporating something as simple as a surface grinder or basic-model grinder can be a great option for shops that don’t have the capital to invest in a top-of-the-line machine. These options tend to require a skilled operator to ensure that tool sharpening is done effectively. The goal is to figure out what kind of grinder makes the most sense for any given shop and the number of tools that require sharpening.
After determining what grinder will be used for sharpening, the next step is to make sure that the shop has the right fixtures for the tool styles. Ripka mentioned it’s probably better for some tools to be sent out to specialty sharpening services because of the complexity of their shape.
"Cluster tooling with staggered length punch points or tools with two-way concave or four-way shears should typically be maintained by your tooling supplier," he added. "Very small-diameter punch points may require additional support when being sharpened due to the limited strength of the punch point. However, most grinding machines have the necessary fixtures available to deal with common-style tooling."
The fourth step is ensuring that the shop and operator have adequate training. Whether a shop has a surface grinder and fixtures or an automatic tool grinder on which training is less intensive, it is still an important step that often is overlooked.
"You want to make sure that whoever’s doing the sharpening of your tools really understands the importance of it and the process for doing it right," said Erler.
There is no one-size-fits-all punching tool maintenance program, nor is there a magic number of hits when a shop should start thinking about sharpening its tools. Erler explained that many customers ask how many hits they should get out of a tool.
"But it doesn’t exist, because it depends on the material type and thickness that you’re punching, as well as the alignment of your machine," she said. "It also depends on the size of the hole relative to the thickness of the material. So, there isn’t a chart that you could follow."
However, as a shop begins to implement a program, it can monitor common tooling trends. If, in a specific application, the tool begins to dull after 5,000 hits, then the shop can assess the tool at this interval level. Keeping a good record of tools and hit counts will help shops build a database to help determine the best time or interval to sharpen tooling.
One of the first things operators should monitor is the cutting edge. If it looks dull, chances are that it is dull. Photo courtesy of Wilson Tool.
"Using the hit counters on most punch presses can help remind an operator to check tools for wear at certain intervals," said Ripka. "Sharpening or performing maintenance on tools periodically or before the tools are seriously worn will help increase tool life."
Ensuring the die is properly maintained is equally as important as the punching tool, yet it is an often overlooked component in the process. Erler stresses that all aspects of the process, including machine alignment, also should be assessed at various intervals to ensure proper punching.
Tool storage is also an important component of any program. It’s not enough just to sharpen tools properly; maintaining them while they are not on the machine is equally essential.
"A shop should store tools in an organized and dirt- and dust-free environment," said Ripka. "Tools that are allowed to roll around and contact other tools in storage accumulate unnecessary damage and can transfer damage to the turret or punch press. Lubricate tools before storing to protect them from dirt/dust in the air."
An in-house punch press maintenance program is a great way for fabricators to control their punching process. However, some shops are still more comfortable outsourcing their sharpening.
"When it comes to sending tools out for sharpening, a shop should definitely not wait too long," said Erler. "We will often get a tool back from a customer that wants to sharpen it and it is way beyond when it should have been sharpened. So instead of the standard material removal rate, the tool needs a significant amount removed. The tool is still good, but you get so much less life when you don’t sharpen frequently."
It can be a natural inclination for shops to wait because that means that the tools are off the floor. When tools are sent to an outside vendor, lead times can be an issue. This is why sources recommend having spare tools that can be used while others are out for sharpening.
Regardless of whether sharpening is outsourced or done in-house, having a spare set of high-hit tooling will allow a shop to keep it in circulation while like tools are being sharpened.
"This will reduce machine downtime while waiting for tools to be sharpened," said Ripka.
John Ripka, Mate Precision Tooling, breaks down some dos and don’ts of sharpening.
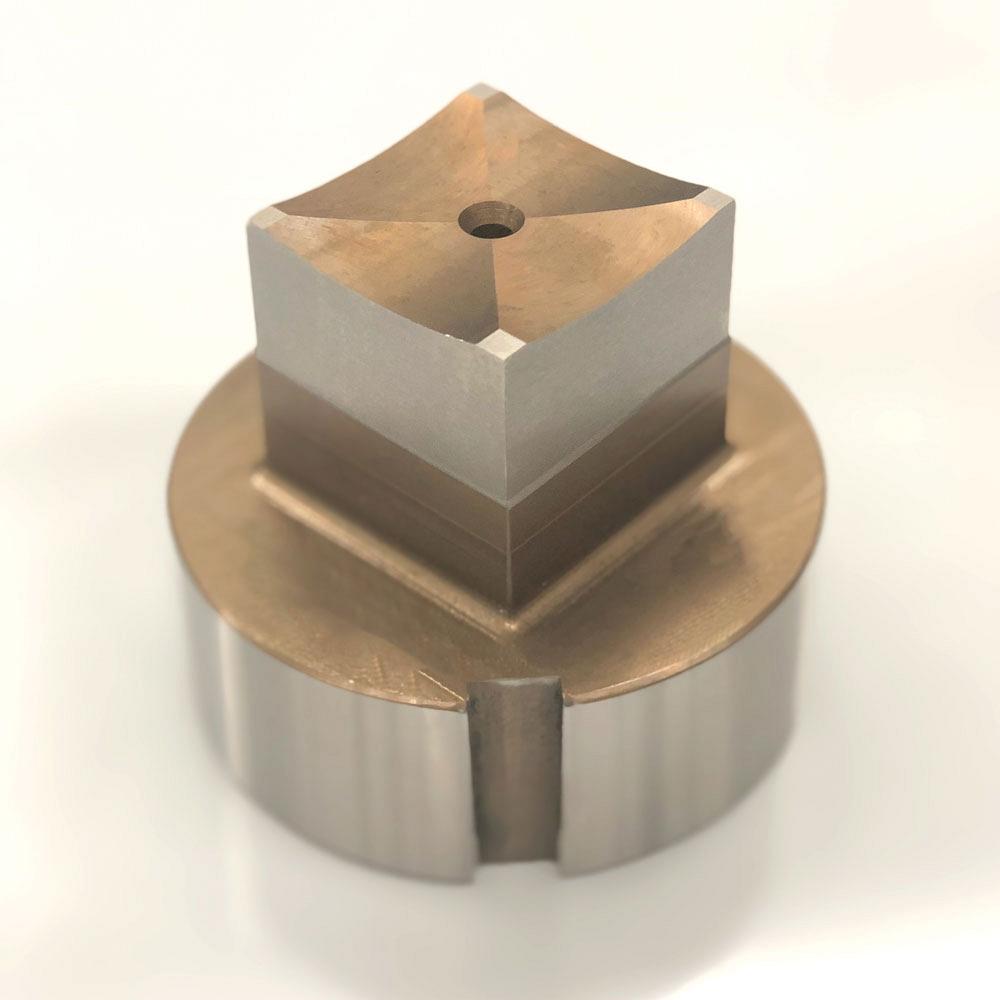
Depending on the complexity of their shape, it’s better for some tools to be sent out to specialty sharpening services. For example, cluster tooling with staggered length punch points or tools with two-way concave or four-way shears should typically be maintained by a tooling supplier. Photo courtesy of Mate.
DO:
DON’T
Associate Editor Lindsay Luminoso can be reached at lluminoso@canadianfabweld.com.
Mate Precision Tooling, www.mate.com
Wilson Tool International, www.wilsontool.com
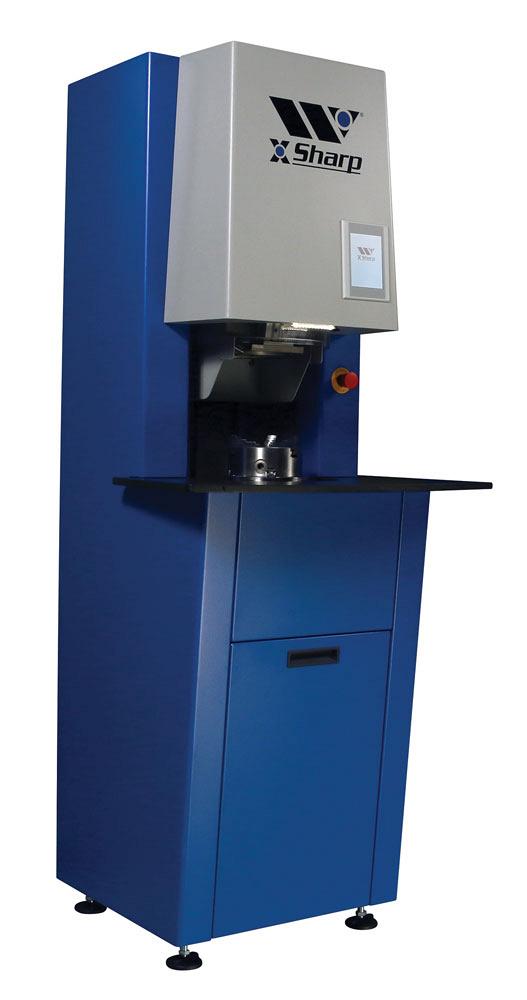
With the XSharp grinder, the operator can simply enter the tool style, size, and grind amount into the touchscreen interface and the machine takes it from there. Photo courtesy of Wilson Tool.


Keep up to date with the latest news, events, and technology for all things metal from our pair of monthly magazines written specifically for Canadian manufacturers!
Start Your Free Subscription
Easily access valuable industry resources now with full access to the digital edition of Canadian Metalworking.

Easily access valuable industry resources now with full access to the digital edition of Canadian Fabricating & Welding.